Measure something: add an input device to a board and read it.
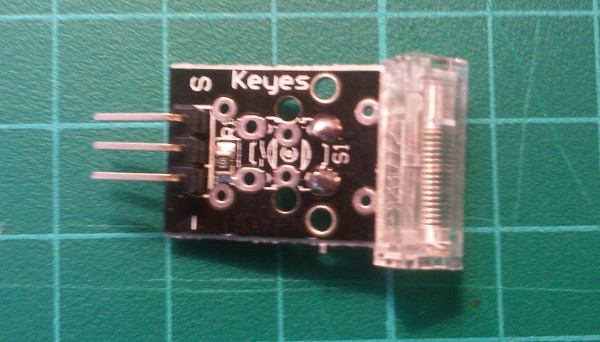
The shock sensor is part of the Cutedigi Arduino Sensor Kit. It outputs a state high/low to shocks. High = shock. Low = no shock

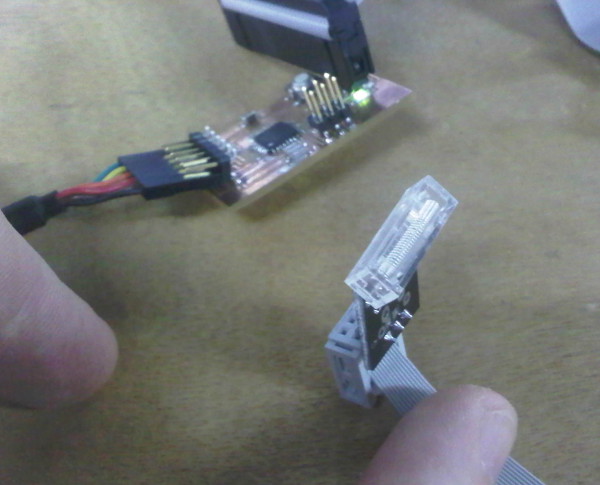
Signal, VCC & GND termianls connected to the Fabduino via the programming pins.

The following code reads the high/low shock status and outputs to the LED. Here A shock will turn the LED off.
|
int Led=13; int Shock=11; int val; void setup() { pinMode(Led,OUTPUT); pinMode(Shock,INPUT);// } void loop() { val=digitalRead(Shock); if(val==HIGH) { digitalWrite(Led,LOW); } else { digitalWrite(Led,HIGH); } } |
Whilst being a very simple code and process the results are fairly ambiguous. It requires a significant shock to turn the LED off.
Hello Temp is another of Neil Gershenfeld's designs, relying on an Attiny 45v micro-controller and a thermister - variable resistor.
The milled and Soldered board

The following instructions are for using mac OSX
You will need the following files:
hello.temp.45.c
hello.temp.45.make
hello.temp.45.py
And you will also need the pySerial module to allow the python program to access the data being recieved at the serial port.
Overview
Download
Connect the board with the FTDI cable and connect the programmer.
With the above 3 files saved to desktop use the following commands
The board is now programmed and generating the raw temp data. The Python code is needed to make a graphic display.

The graph should respond to changes in temp such as when you touch the thermistor.
Currently troubleshooting an issue with unresponsive temp reading. ******Issue resolved by re-flowing all soldered connections
I designed a separate temp sensor to be used with the Fabduino.

The board is designed to be pugged into the programming 6pin header of the fabduino using input pins PB4 and PB2
Currently working on programming the board